Construction, House Plans
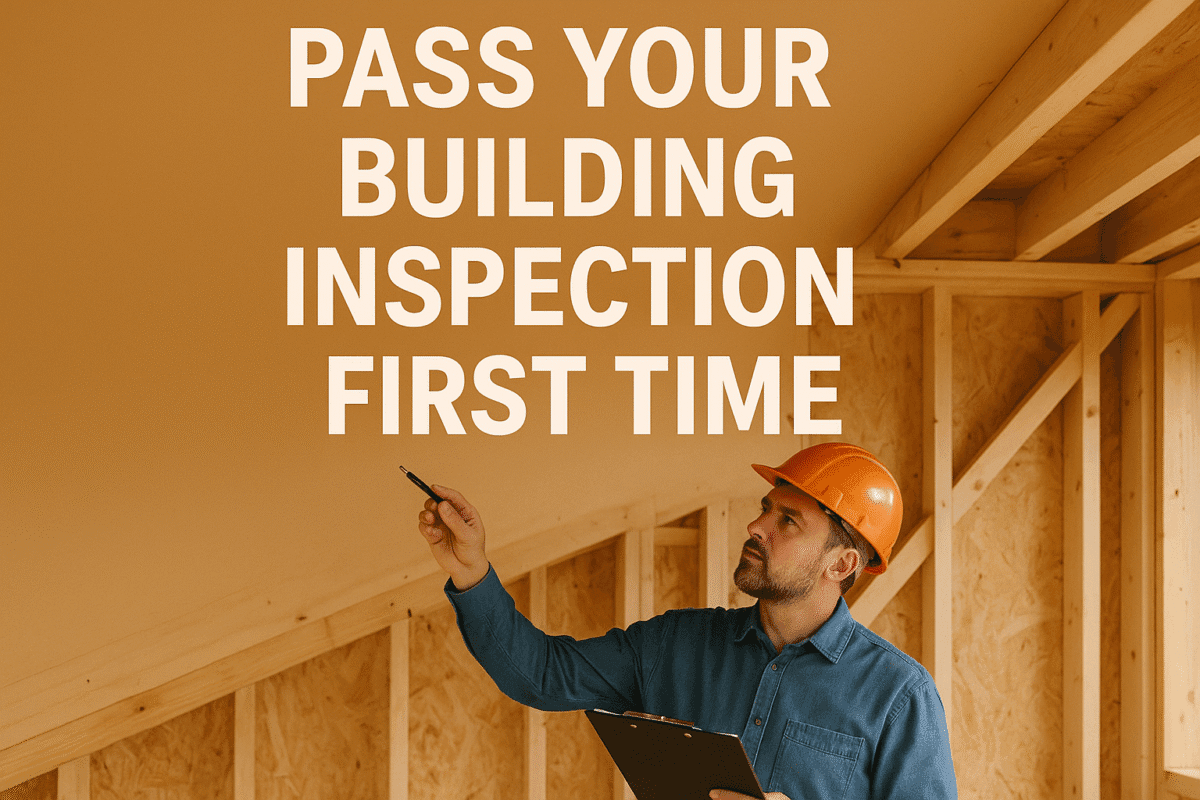
Expert Tips to Pass Your Building Inspection First Time
Jul
A building inspection is a key part of any construction project. It confirms that your work follows local codes and safety rules. If you pass, your project moves forward. If you fail, you face delays, extra costs, and frustration.
Many people fail inspections due to small mistakes or missing steps. The good news is that most of these issues can be avoided with the right preparation. Knowing what inspectors look for, using a building inspection checklist, and understanding your building inspection requirements can help you succeed the first time.
This guide gives you simple, expert-backed tips to help you pass your building inspection without stress. Whether you’re building in the US, Canada, UK, Africa, or Australia, these steps apply to you. Let’s get started.
What Is a Building Inspection?
A building inspection is a check to make sure your construction follows local codes and safety rules. It’s done by a qualified inspector who looks at key parts of your building project.
During the inspection, the inspector checks your structure, plumbing, electrical systems, and more. They make sure everything is safe, functional, and built to the required standards.
If any issues are found, the inspector will note them in a building inspection report. You’ll need to fix these problems before passing. If your work meets all the rules, you’ll get approval to continue or finish your project.
Passing the inspection is a necessary step in the building process. Without it, you can’t move forward with your project.
Why Passing First Time Matters
Failing a building inspection costs you time and money. It can delay your project by weeks. You may also face extra fees or penalties. Passing the first time saves you stress and keeps your project on track.
Know Your Local Building Inspection Requirements
Every area has its own building codes. These are the rules your project must follow. You must understand them before you begin.
Inspection rules can vary by country, state, or city. What passes in one place may fail in another. Always check with your local building office or council.
Ask for a list of building inspection requirements. You can find these on government websites or by calling the office. Some places also offer printed guides.
The rules often cover plumbing, wiring, walls, roofing, windows, fire safety, and structure. Some areas have extra rules for energy use or earthquake safety.
If you miss any of these, your inspection may fail. Knowing the rules helps you avoid delays and extra costs.
Share these rules with your contractor and team. Make sure everyone follows the same guidelines from the start. This saves time and reduces the risk of mistakes.
Use a Building Inspection Checklist
A building inspection checklist is a key tool that helps you prepare for a successful building inspection. It lists everything the inspector will look at and helps you avoid costly mistakes. Whether you’re building a home, adding a room, or doing repairs, using a checklist can help you pass the inspection the first time.
This guide will explain why a checklist is important, what it should include, and how to use it during your project.
Why You Need a Building Inspection Checklist
A building inspection is a step-by-step check of your work. It looks at safety, strength, and how well your project follows local codes. If your work doesn’t meet the rules, the inspector won’t approve it. That means delays, extra costs, and a lot of stress.
A building inspection checklist helps you avoid all of that. It gives you a clear picture of what needs to be ready. It’s a simple way to track your progress and make sure no part of the project is missed.
Using a checklist also shows that you are serious and well prepared. Inspectors notice that. It builds trust and makes the process smoother.
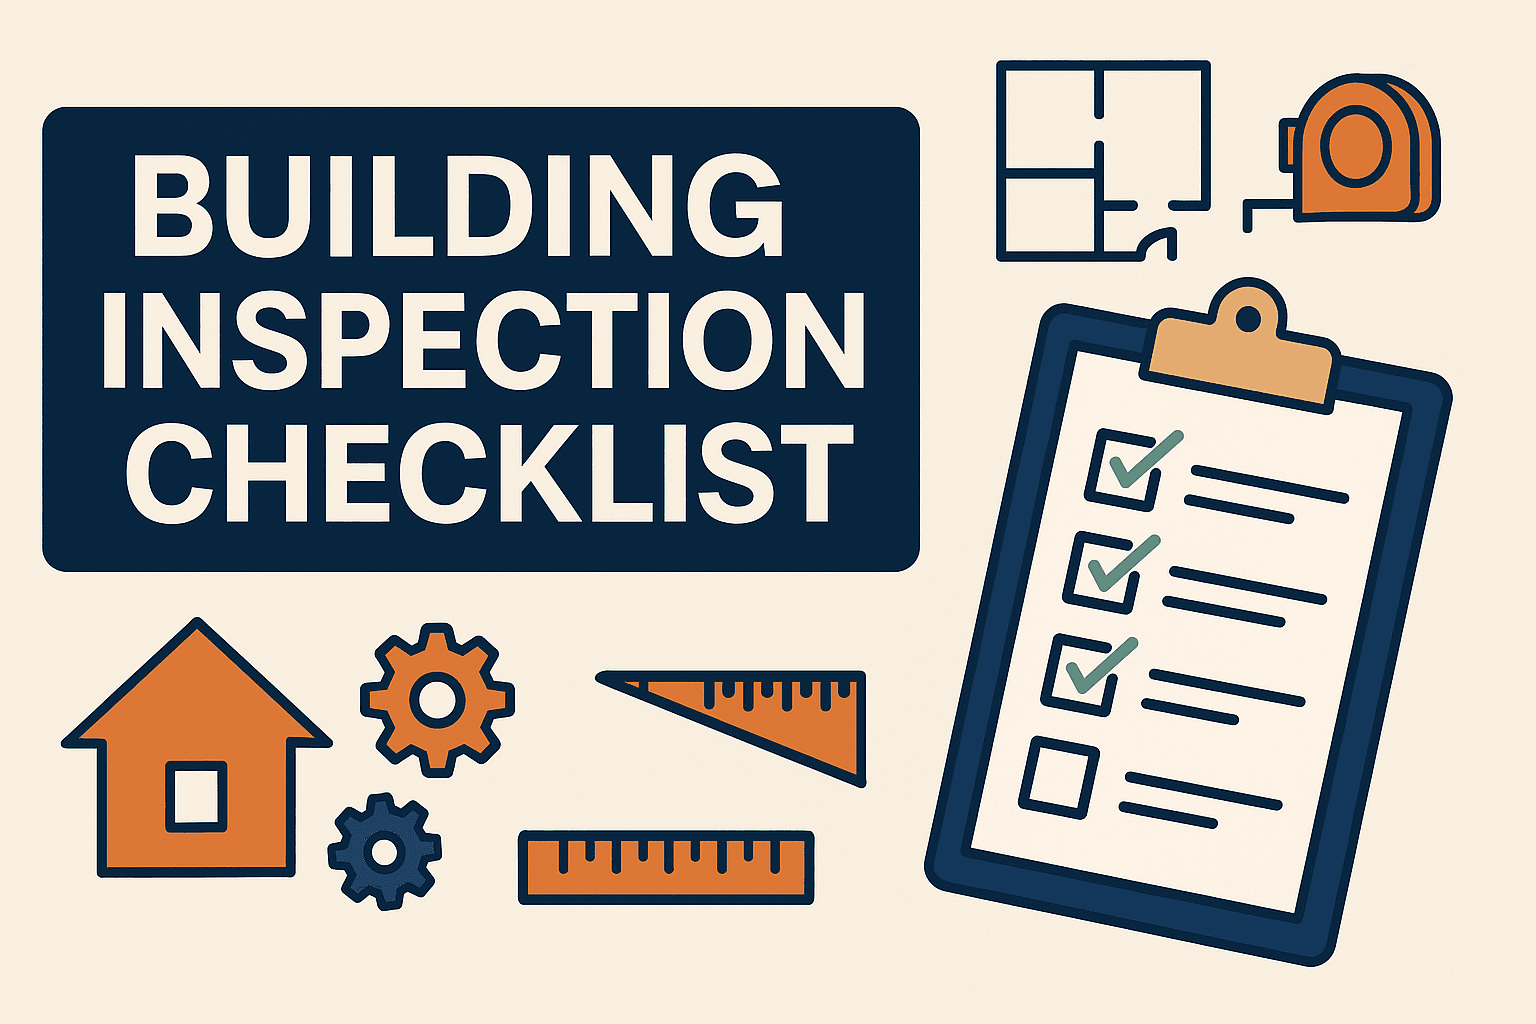
What’s on a Building Inspection Checklist?
Checklists can vary by location, type of project, and stage of construction. However, most building inspection checklists include similar key areas. Below are common items that show up in most inspections:
1. Foundation
Depth and width of footings
Soil condition
Formwork and rebar
Waterproofing and drainage
Concrete quality and curing
2. Framing
Stud spacing and alignment
Joists and beams placement
Roof trusses or rafters
Wall bracing
Fasteners and connectors
3. Plumbing
Pipe layout and size
Water supply and drainage
Venting system
Pipe support and spacing
Pressure test results
4. Electrical
Wire type and gauge
Breaker panel installation
Outlet and switch boxes
Bonding and grounding
Smoke and carbon detectors
5. Mechanical
HVAC duct layout
Ventilation fans
Exhaust systems
Fire dampers
Thermostat wiring
6. Roofing
Roof deck condition
Underlayment and flashing
Shingles or roofing material
Roof pitch and drainage
Gutter installation
7. Insulation and Energy
Insulation type and depth
Wall, ceiling, and floor coverage
Vapor barriers
Sealing gaps and joints
Window and door U-values
8. Fire Safety
Fire-rated walls and ceilings
Fire-stopping materials
Egress windows
Fire alarms and extinguishers
Safe exit routes
9. General Site Conditions
Site access and cleanliness
Safety barriers and signage
Temporary fencing
Drainage and stormwater controls
Waste disposal
These items form the backbone of most checklists. You may need to add or remove items based on your location and type of work. Always check with your local building office to get an official checklist.
How to Get a Building Inspection Checklist
There are many ways to get a building inspection checklist that fits your needs:
Local Authority
Most building departments offer free checklists on their websites or in-person. These are the most accurate for your area.Licensed Contractors
Many good contractors have their own detailed checklists based on years of experience.Online Resources
You can find templates for free or at low cost. Just make sure they follow your local building codes.Inspection Companies
Some private inspectors provide detailed guides as part of their services.
Always compare the checklist you get with the building inspection requirements in your area. Make changes where needed.
How to Use the Checklist at Each Stage
Using a building inspection checklist is not a one-time task. You should use it throughout the entire building process. Here’s how to do it step by step:
Before You Start
Go through the checklist before any work begins. This helps you plan your materials, hire the right workers, and know what to expect. Share the checklist with your builder, contractor, or project manager.
During Construction
Use the checklist daily or weekly to track progress. Mark off each item as it is completed. Check that each task meets code, is done safely, and matches your plans.
If something is missing or not right, fix it before moving on. This saves time and avoids delays at the inspection.
Before the Inspection
This is the most important time to use your checklist. Go through every item one by one. Make sure everything is clean, finished, and safe.
Fix anything that may raise a red flag for the inspector. Don’t skip small details. Missing one simple thing can lead to a failed inspection.
After the Inspection
Keep the checklist and compare it with the building inspection report. If anything needs to be corrected, use the list again during repairs.
A good checklist becomes part of your project record. You can refer to it in future stages or for other jobs.
Benefits of Using a Building Inspection Checklist
Using a building inspection checklist gives you many benefits:
Helps You Stay Organized
You know what’s done and what still needs work.Reduces Risk of Failure
You are less likely to miss key steps that could lead to a failed inspection.Saves Time and Money
Fewer mistakes mean fewer delays, less rework, and no extra fees.Improves Quality of Work
Everyone follows the same standard, so the job gets done right the first time.Builds Trust With Inspectors
A clean, well-prepared job site backed by a complete checklist shows you are professional and responsible.
Final Tips for Using a Checklist
Print the list and keep it on site. Use a clipboard or folder to keep it clean.
Review it daily with your team. This keeps everyone focused and on the same page.
Mark dates and sign off each item. This creates a clear record of progress.
Use a digital version if needed. Apps and spreadsheets work well, especially for large projects.
A building inspection checklist is more than just a form. It’s a plan, a safety tool, and a way to protect your investment. It helps you meet your local building inspection requirements, stay on schedule, and pass your inspection the first time.
Whether you’re a homeowner, builder, or contractor, using a checklist gives you control and peace of mind. Don’t wait until the inspector shows up to get ready. Start early, follow the list, and stay one step ahead at every stage of your project.
Nyolenju Structures helps you get building plans that meet all the requirements on the building inspection checklist.
Keep the Site Safe and Clean
A clean site makes a strong first impression. It also helps your building inspection go smoothly.
Inspectors need to move around the site with ease. Clear walkways, remove tools, and put away loose materials.
Keep all work areas free of trash, scrap wood, and wiring. Messy sites are not only unsafe, they also slow down the inspection.
Make sure ladders, scaffolds, and stairs are stable. Cover open pits or holes. Remove nails from boards left on the ground.
If the inspector sees risks, they may stop the visit. This causes delays and adds extra work.
A safe, tidy site shows that your team is careful and professional. It also helps the inspector focus on your actual work, not the mess around it.
Have the Right Documents Ready
Your inspector will need to see key documents before starting the inspection. If you don’t have them, the visit may be delayed.
Start by gathering your building permits. These show that your project was approved by the local authority.
Have a copy of your building plans on site. These should match the work already done. If the work does not match the plans, you may fail the inspection.
Keep your engineering and structural reports close. These include soil tests, load limits, and design specs.
You may also need proof of contractor licenses, past inspection reports, or special approvals for plumbing or electrical work.
Use a folder or binder to hold all your papers. Label everything clearly so it’s easy to find. You can also keep digital copies on a tablet, but make sure they are easy to access.
Having the right documents ready saves time, builds trust, and shows you are prepared. It helps your building inspection move faster and smoother.
Walk Through the Site Before the Inspector Comes
Do a full site check before the inspector arrives. This helps you catch mistakes early.
Walk through each part of the project. Use your building inspection checklist as a guide. Look at everything the inspector will check.
Test lights, switches, and outlets if the wiring is done. Check that plumbing is sealed and drains well. Look for gaps, cracks, or loose parts in the structure.
Make sure safety features are in place. Fire alarms should work. Stairs should have rails. Windows and doors should open and close without problems.
Check for code issues. Compare your work to the building plans and local building inspection requirements. If something doesn’t match, fix it now.
Take notes or photos if needed. Share what you find with your builder or team right away. A careful walk-through can help you avoid failing your inspection over simple issues.
Be Present During the Inspection
Always be at the site when the inspector arrives. If you can’t be there, send someone who knows the project well.
Being present shows that you take the inspection seriously. It also lets you answer questions right away.
The inspector may ask about materials, plans, or past work. If no one is there to respond, they might stop the inspection.
You can also clear up small concerns on the spot. For example, if something looks unfinished but is approved in the plans, you can explain it.
Walk with the inspector if they allow it. Listen closely and take notes. This helps you understand what they’re looking for.
Never argue or interrupt. If there’s a problem, ask how to fix it. Stay calm and respectful.
Being there in person helps build a good working relationship. It can make future inspections faster and easier.
Keep a Copy of the Building Inspection Report
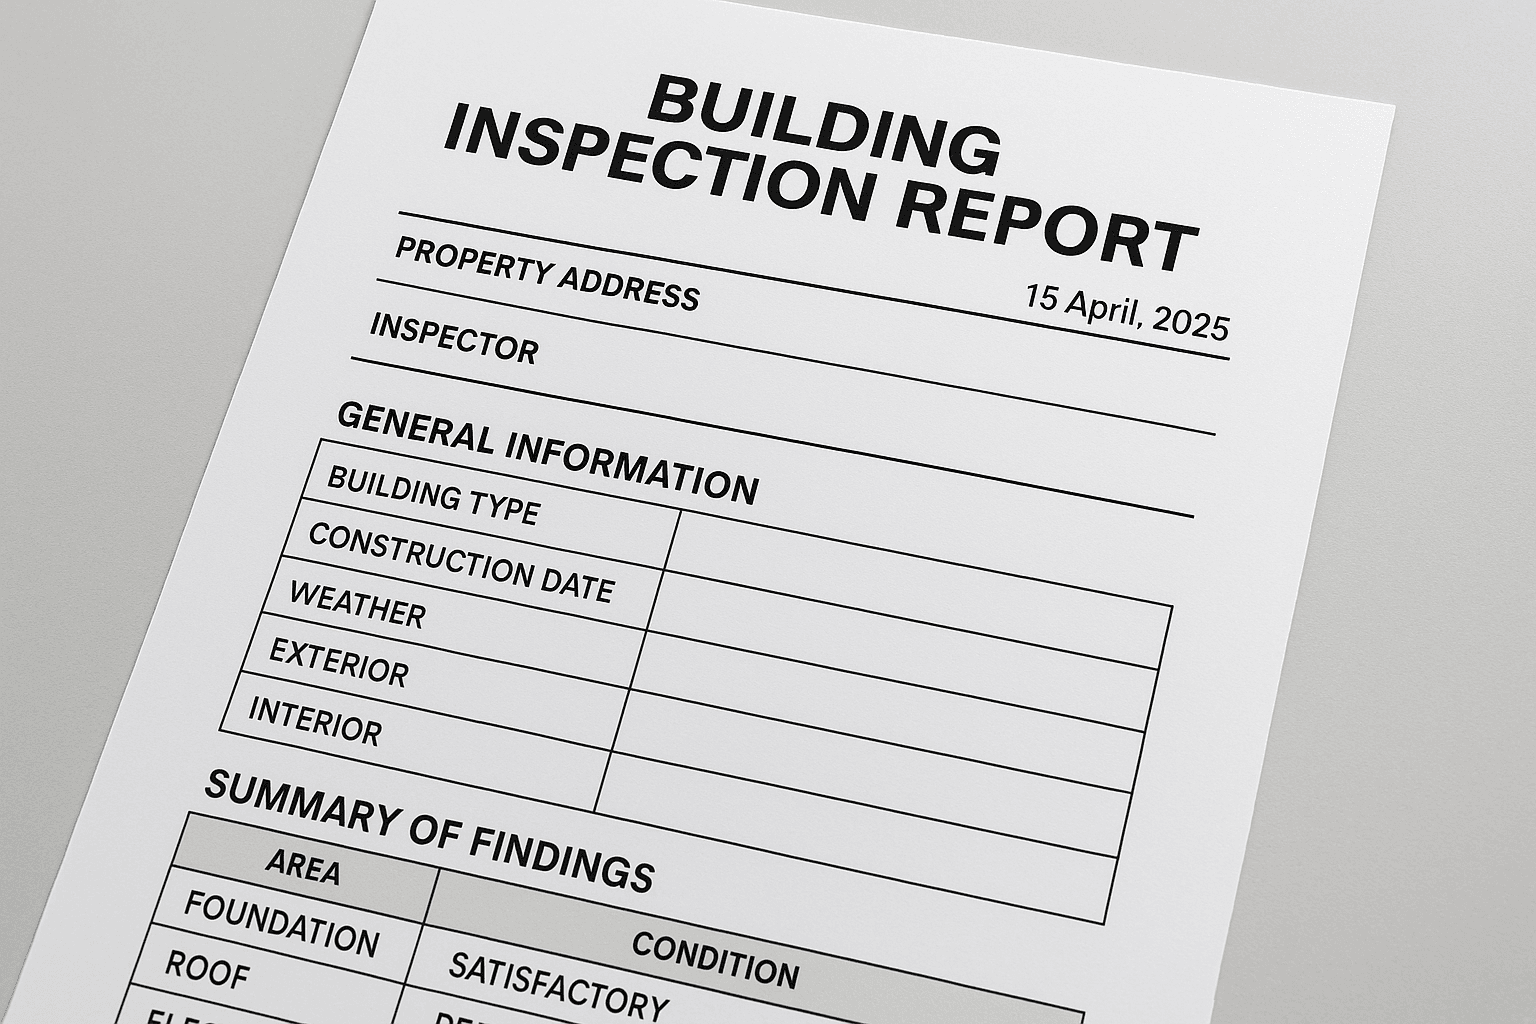
After the inspection, the inspector will give you a building inspection report. This document shows what passed and what did not.
Read the report carefully. If you passed, it means your work meets the required standards. If you failed, the report will list the problems.
Use the report as a checklist for what needs fixing. Make the changes before scheduling a reinspection. This helps you avoid repeating the same issues.
Always keep a copy of the building inspection report for your records. Store both printed and digital versions if possible.
You may need these reports later for permits, insurance claims, or when selling the property. Some local offices may also ask for them during future inspections.
Staying organized with your reports shows that you follow the rules. It also makes it easier to track the progress of your project.
Hire a Qualified Contractor
A qualified contractor can make the difference between passing or failing your building inspection. They know the local building codes and follow the correct steps.
Before you hire anyone, check their license and experience. Ask for references from past clients. Look at photos of their finished work. Make sure they have done projects like yours.
A good contractor will use a building inspection checklist during the job. They will also meet all building inspection requirements for your area.
They stay up to date with code changes and safety rules. This helps you avoid costly mistakes.
Ask if the contractor has passed inspections in your town or city before. If they have, it’s a good sign they know what they’re doing.
Avoid cheap, unlicensed workers. They often cut corners and may not follow the law. If their work fails the inspection, you’ll have to fix it; and pay twice.
Hiring the right contractor saves time, stress, and money. It gives you peace of mind and helps your project move forward without delays.