
Construction, Architecture, Real Estate
Common Defects in New Builds (And How to Spot Them Early)

Sep
Buying a brand new home is exciting, but it is important to remember that common defects in new builds are more frequent than most people expect. Fresh paint, spotless rooms, and the thrill of being the first owner can sometimes hide small construction mistakes that later turn into costly problems. Because many trades and tight schedules are involved in modern construction, even the best builders can overlook details. The good news is that most of these issues can be spotted early with the right knowledge and a careful inspection.
In this detailed guide, we will look at the most common defects in new builds and explain how to recognize them before they become expensive headaches. By the end, you will know exactly what to look for, when to check for it, and how to communicate concerns with your builder in a way that actually gets results.
Why There May Be Defects in New Builds
The reality of rushed timelines and multiple subcontractors
Modern housing projects are built on strict deadlines. To keep costs under control, builders rely on teams of subcontractors who each handle their own piece of the puzzle. If one trade runs behind schedule, the next may be forced to rush. This is how small errors creep in. A wall might be slightly out of line, flashing around a window may be skipped, or nails may be placed incorrectly. The issue might not show up on move-in day but can cause big trouble after the first storm or season change.
Building codes compared with best practice
Many homeowners assume that if their house passes building inspection, everything must be fine. The truth is that building codes only set the minimum legal standard. They are designed to make sure the home is safe, but they do not guarantee that the house is energy efficient, comfortable, or built with long-term durability in mind. Best practice is a higher standard that goes beyond the basics of code. Proper flashing, careful insulation, well-sealed ducts, and balanced ventilation are examples of best practices that are often skipped if a builder only aims for the minimum requirement.
Smart Strategy: How to Inspect a New Build Like a Professional
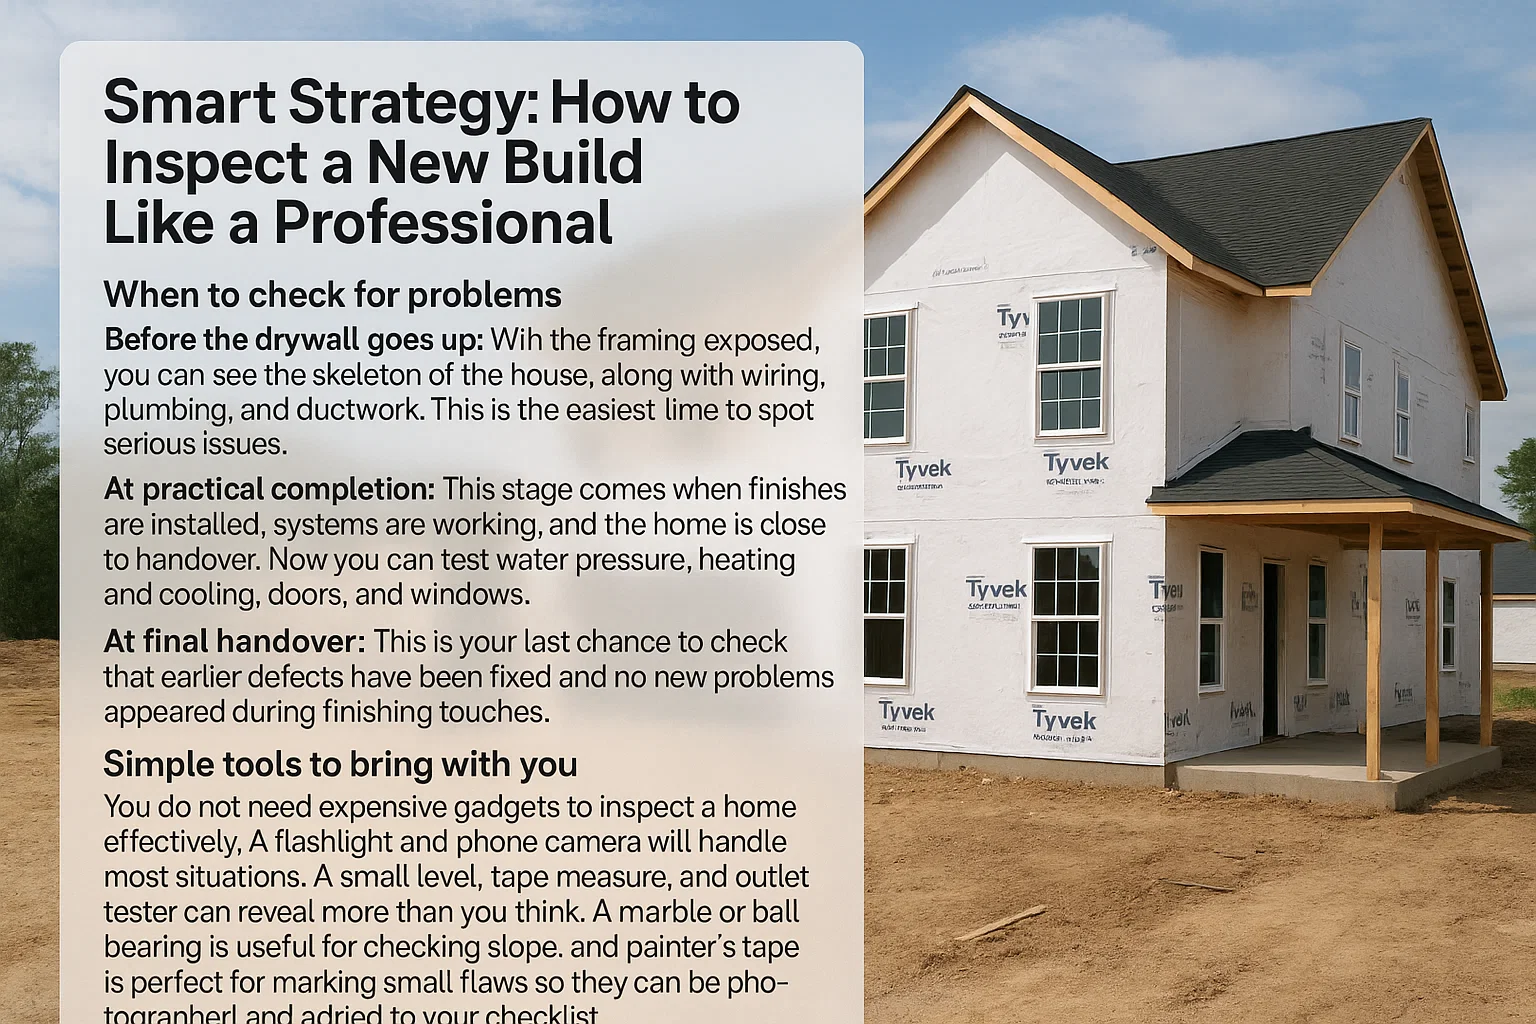
When to check for problems
There are three critical times to inspect a new home.
Before the drywall goes up: With the framing exposed, you can see the skeleton of the house, along with wiring, plumbing, and ductwork. This is the easiest time to spot serious issues.
At practical completion: This stage comes when finishes are installed, systems are working, and the home is close to handover. Now you can test water pressure, heating and cooling, doors, and windows.
At final handover: This is your last chance to check that earlier defects have been fixed and that no new problems appeared during finishing touches.
Simple tools to bring with you
You do not need expensive gadgets to inspect a home effectively. A flashlight and phone camera will handle most situations. A small level, tape measure, and outlet tester can reveal more than you think. A marble or ball bearing is useful for checking slope, and painter’s tape is perfect for marking small flaws so they can be photographed and added to your checklist.
How to document defects
Always take photos of defects, preferably with a coin or ruler for scale. Keep a punch list that notes the location of each issue and mark its progress through stages: found, reported, acknowledged, fixed, and verified. This keeps both you and the builder organized.
Structure and Foundation
New builds sometimes develop hairline cracks in concrete slabs or foundation walls. While some cracking is natural and caused by shrinkage as the concrete cures, others can suggest movement or poor preparation. Missing joist hangers, incorrect nail placement, or walls that lean out of plumb are also structural red flags.
What to watch for
Doors that rub, floors that slope, or stair treads that creak can all indicate underlying structural movement. Long cracks that widen or taper may show stress rather than harmless shrinkage.
Quick checks you can do yourself
Set a marble in the center of a room and see if it rolls. Sight down walls and ceilings for visible waves or bulges. Inspect concrete slabs for clean and present expansion cuts.
Grading, Drainage and Moisture Control
Grading mistakes
The ground around the house should slope away from the foundation. If soil or paving directs water toward the structure, you risk flooding, damp basements, or soil movement that causes foundation cracks.
Details that protect against water
Brick walls should include weep holes to allow trapped moisture to escape. Roof-to-wall intersections require kickout flashing to prevent water from soaking siding. When these features are missing or installed poorly, rot and mold can appear in a surprisingly short time.
How to check after a rainfall
Walk around the house right after heavy rain. Look for standing water near the foundation or dampness at the base of walls. Inside, use a flashlight to inspect sill plates and basement corners. Downspouts should direct water far from the house, not right at the foundation.
Roofs and Attics
Common roof installation mistakes
Missing starter strips, exposed nails, or shingles that overhang too little or too much can all lead to leaks. Metal roofs may suffer from improper fasteners or weak edge trim, which can loosen under high winds.
Ventilation and insulation problems
Attics need steady airflow. Without balanced intake and exhaust, hot and humid conditions can build up, leading to mold or ice dams in colder climates. Missing insulation or blocked soffits are frequent culprits.
Checklist for attic inspection
Verify insulation is spread evenly.
Check that baffles at the eaves are preventing insulation from blocking airflow.
Look for daylight only where vents are meant to be.
Confirm exhaust ducts extend outside, not into the attic space.
Exterior Cladding, Windows and Doors
Sealing and flashing issues
Caulk alone cannot prevent water entry. Without backer rod or proper joint design, sealant fails quickly. Windows and doors require correct flashing to guide water away from wall cavities. Missing or careless flashing is a leading cause of early rot.
Operation and alignment
Every window and door should open smoothly and latch securely. The reveal, which is the visible gap around the frame, should be even on all sides. Uneven reveals often indicate racked framing or poorly set hinges.
A safe water test
On a dry day, gently spray a hose above a window or door for a few minutes while someone checks inside. This simulates rain and can reveal leaks. Avoid using pressure washers, which can force water through otherwise good seals.
Plumbing Systems
What goes wrong most often
Pipes may be connected incorrectly, with hot and cold lines reversed. Slow drains can result from poor slope or debris. Small leaks often hide under sinks, where supply lines or traps may not be tightened enough.
Pressure and temperature concerns
Turn on multiple fixtures at once. If water pressure drops sharply or shower temperatures fluctuate, there may be a mixing issue or undersized supply lines.
Simple homeowner tests
Place a dry towel under each trap and run water for several minutes. Any dripping will show clearly. Time how long it takes to fill a large bucket from the kitchen faucet to check flow.
Electrical and Low Voltage Systems
Typical electrical concerns
Outlets may be wired with reversed polarity or open grounds. Ground fault and arc fault protection is required in many areas but is not always installed properly. Electrical panels should be labeled clearly, not with vague descriptions.
Future proofing with low voltage planning
Few homeowners think about Wi-Fi coverage or empty conduits during construction. Having conduits installed from the electrical panel to key rooms or the attic allows easy upgrades later. If it is not included, note it now before walls are sealed.
How an inexpensive tester helps
A small plug-in tester can confirm polarity, grounding, and the function of ground fault outlets. Mark any faulty ones with tape, photograph them, and add them to your list.
Heating, Ventilation and Air Conditioning
Airflow problems
Unsealed ducts leak air into unused spaces, wasting energy and comfort. Rooms without proper return air paths often feel stuffy. Short cycling, where the system switches on and off too quickly, can indicate poor design or oversizing.
Bathroom and kitchen exhausts
Turn on each fan and check outside to make sure air is actually exiting the home. Exhaust ducts that vent into attics or crawlspaces can lead to serious moisture damage.
How to test airflow by feel
Hold a tissue near supply registers. It should move consistently in every room. Weak airflow in one area compared to another suggests a balancing issue.
Insulation and Air Sealing
Where gaps appear
Look for open spaces around plumbing, wiring, and attic hatches. Missing seals let air flow freely and often leave dirt tracks on insulation as proof of leakage.
Thermal bridges
Framing members such as headers or corners may allow heat or cold to pass directly through the wall if they are not detailed properly. An infrared thermometer can show these trouble spots.
How to check for drafts safely
Instead of a flame, use a smoke pen or even a strip of tissue to reveal airflow around windows, doors, and outlets. This avoids the risk of fire while giving you clear results.
Interior Finishes
Walls and paint
Look for nail pops, cracks, or uneven surfaces. Shine a flashlight along the wall at a low angle to reveal waves or seams hidden by paint.
Flooring problems
Tiles may show lippage, where one edge sits higher than another. Tap tiles with a coin to check for hollow sounds that suggest poor adhesion. Wooden floors may have gaps or buckling at thresholds. Carpets should be stretched tight with no ripples.
Five minute inspection routine
Start at the entry and move clockwise around each room. Look carefully at walls, corners, and floors. Mark each flaw with painter’s tape, photograph it, and note it in your log.
Kitchens, Bathrooms and Built-ins
Cabinets and appliances
Cabinet doors should line up evenly, and drawers should glide smoothly. Check countertop levels with a small bubble level. Ensure appliances have proper clearances for safety and servicing.
Countertops and wet areas
Countertop seams must be tight and neat. Silicone around sinks, tubs, and showers should be smooth and continuous. In showers, place a marble on the floor to confirm slope leads to the drain.
Checking drawer quality
Open every drawer and tray fully. They should not grind or rack. Soft-close hardware should work consistently.
Safety and Code Requirements
Stairs and railings
Stair risers must be uniform in height to prevent tripping. Handrails should feel solid and return to the wall or floor at ends. Bedrooms must have proper emergency escape windows or doors.
Fire safety
Look for proper firestopping between floors and units. Test every smoke and carbon monoxide alarm. Where required, alarms should be interconnected so all sound at once.
Family safety sweep
Verify that ranges have anti-tip brackets, glass near tubs and stairs is tempered, and outlets are tamper resistant in spaces children might access.
Landscaping and Exterior Features
Water and soil management outside
Sprinkler heads should not spray water on walls or windows. After rain, check for soil settling near the foundation. Driveways and patios should slope away from the house to prevent pooling.
Fencing, gates, and exterior lighting
Gates should swing freely and latch properly. Fence posts need to be set deep enough for stability. Exterior outlets and lights should have protective covers to prevent water entry.
Warranty, Punch Lists and Communication with Builders
How to write a defect list that works
Organize your list by priority. Safety, water, and structural issues come first, followed by system performance and finally cosmetic concerns. Number each item, include a brief description, and attach a clear photo.
How to get results without conflict
Use respectful, professional language. Instead of demanding, ask to confirm whether an item meets the agreed standard. Provide photos and request acknowledgment of each issue in writing.
When to bring in a professional inspector
If problems keep reappearing, if the builder delays repairs, or if water and structural issues are ignored, hire an independent inspector. A neutral report often pushes builders to act quickly.
Final Walkthrough Checklist
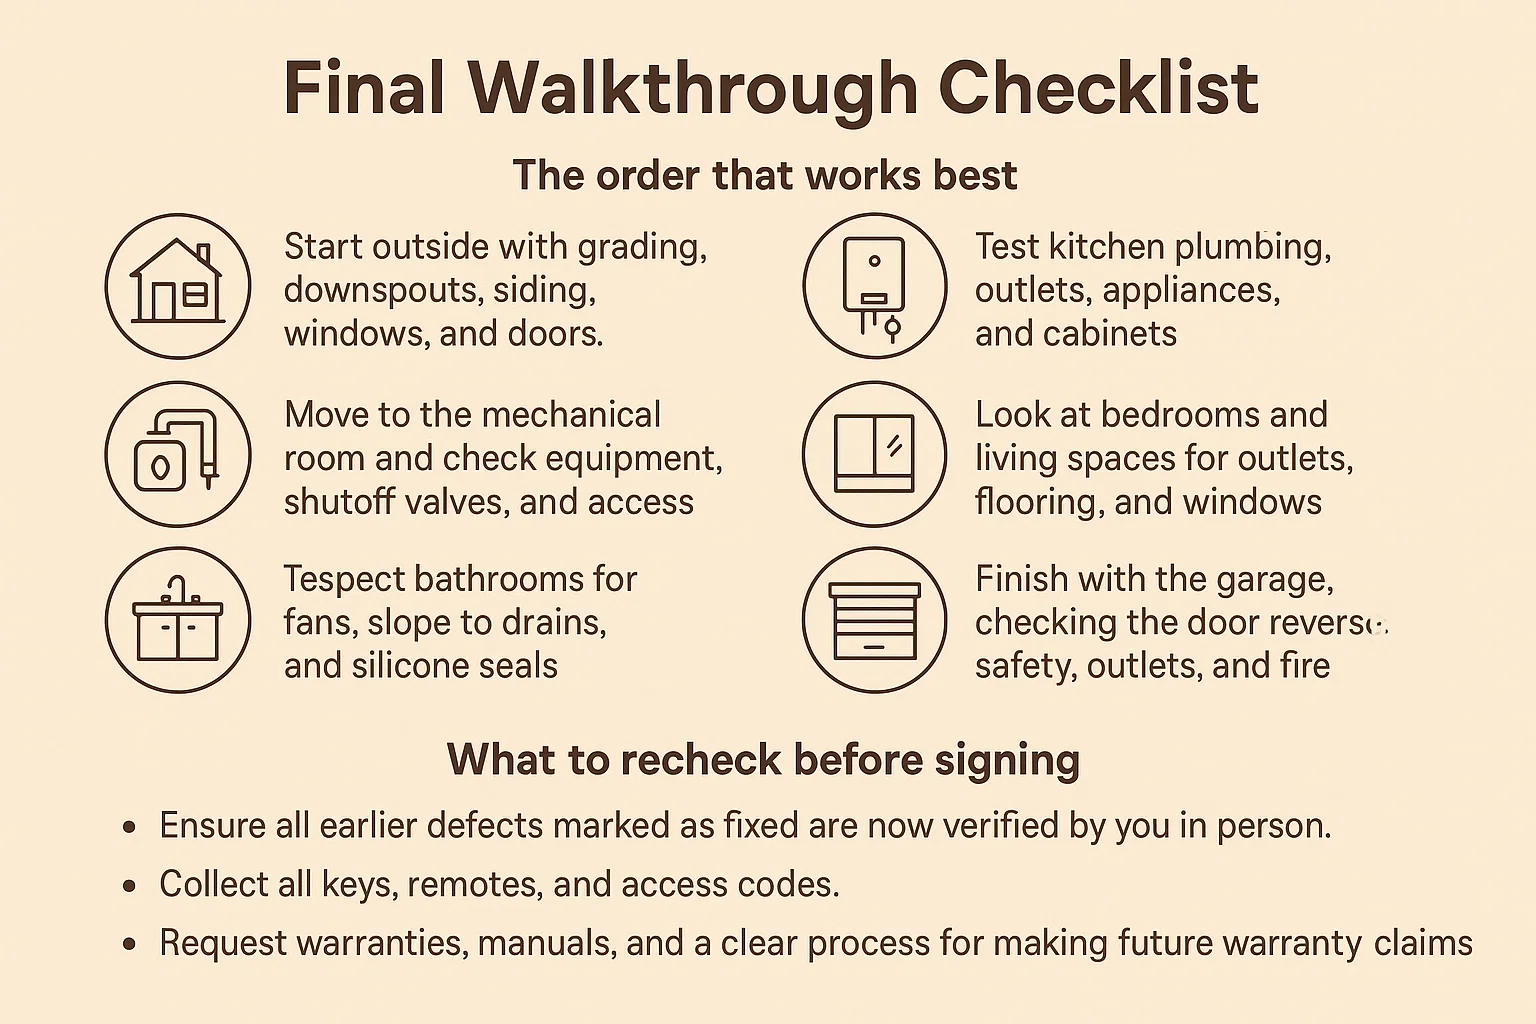
The order that works best
Start outside with grading, downspouts, siding, windows, and doors.
Move to the mechanical room and check equipment, shutoff valves, and access.
Test kitchen plumbing, outlets, appliances, and cabinets.
Inspect bathrooms for fans, slope to drains, and silicone seals.
Look at bedrooms and living spaces for outlets, flooring, and windows.
If possible, enter attic and crawlspace to check insulation and ventilation.
Finish with the garage, checking the door reversal safety, outlets, and fire separation.
What to recheck before signing
Ensure all earlier defects marked as fixed are now verified by you in person. Collect all keys, remotes, and access codes. Request warranties, manuals, and a clear process for making future warranty claims.
Conclusion
A new home is one of the biggest investments you will ever make, and it deserves careful attention from the very start. Even though everything looks fresh and polished, hidden issues can appear if you do not inspect properly. By focusing on water management, structural integrity, safety features, and the performance of essential systems, you can protect yourself from costly surprises. Once those key areas are covered, you can shift your attention to the finishes and cosmetic details that make a house feel like home.
If you want a home that starts right from the design stage, Nyolenju will help. Nyolenju specializes in creating house plans that are practical, durable, and tailored to your lifestyle. A well designed plan is the first defense against future defects, because it ensures every detail is considered before construction even begins.

Take action today. Choose Nyolenju for the best house plans and start your journey to a new home with confidence and peace of mind. Your dream home deserves nothing less.
Frequently Asked Questions
Q1: Are cracks in new concrete always a problem?
Not always. Small surface cracks from drying shrinkage are common and harmless. What you should watch for are cracks that widen, extend over long distances, or cause one side of the concrete to sit higher than the other. Those require professional evaluation.
Q2: When should I inspect my new home?
The best times are before drywall is installed, at practical completion when systems are working, and finally at handover before you accept the keys. Each stage offers different opportunities to catch defects.
Q3: Should I hire an independent inspector for a brand new home?
Yes. While you can catch many issues on your own, inspectors are trained to recognize subtle problems with wiring, ventilation, or drainage that you might overlook. Their reports also carry weight with builders.
Q4: What are the three most important things to check immediately?
Pay attention first to water management, because water damage spreads quickly. Next confirm all life safety features such as smoke alarms and proper stair construction. Finally, make sure all major systems including plumbing, heating, and electrical are functioning as designed.
Q5: How do I communicate with my builder without starting an argument?
Stay calm and professional. Provide a clear, numbered list with photos. Ask questions such as, “Does this meet the standard specification?” rather than demanding fixes. Written acknowledgment and timelines are the best way to keep things moving smoothly.